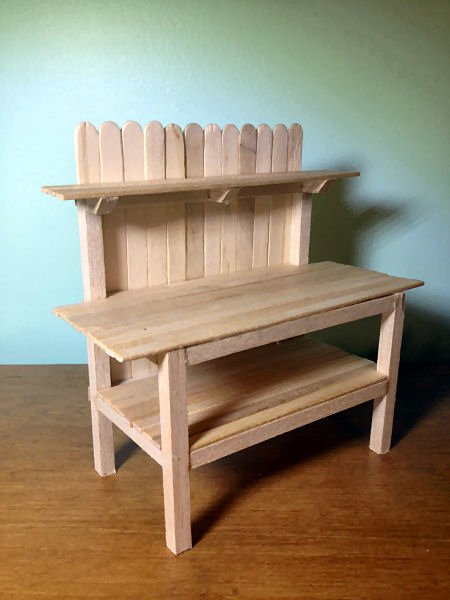
Anyway, I was sitting here watching the weather and seeing the cold temps in the future and I needed a bit of Spring in my life. I decided I would build another potting bench and show others how it can be done cheaply and easily. This is a pic of the finished product just to tease you. This tutorial will be to just build the potting shed (or produce stand as in this picture), not the other items. Maybe they will be other tutorials.
 |
| The Finished Project |
Now if you tried to follow along and I totally confused you, here is some additional information that you might find helpful.
First you will need to get a couple strips of 1/4" square basswood or Balsa wood. You will also need a pack of Craft Sticks and a pack of Skinny Sticks.
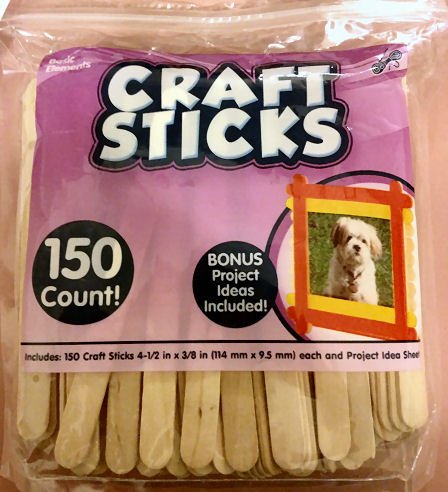 |
| Craft Sticks are 4.5"x3/8" (114mm x 9.5mm) each |
 |
| Skinny Sticks are 5.75"x1/4" (146mm x 6mm) each |
In this still shot from the video you see the pieces after I have cut them out of the 1/4" square strip of wood.

Here is a list of each size you will need and how many:
3" - 2 (front legs)
4.75" - 2 (back legs)
4" - 5 (horizontal supports)
2" - 6 (vertical supports)
1/2" - 3 (upper shelf supports)
The video will show you how to put all of those together and then add the back details and the skinny sticks to make your bench top, upper shelf and lower shelf. If you follow the instructions, at the end you should have something that looks like this.

In the next video I will show you how to do the paint finish on the bench. For this one, to achieve the look in the first picture, it required 3 different layers of paint and utilized 2 different techniques. Should be lots of fun and once you get the basic construction figured out, you can adjust the details however you want to make it your own.
Till later!

Thanks for this tutorial.
ReplyDeleteBye Faby
Thanks Faby! You are very welcome. There will be more to come.
Deletewhat a great tutorial, thank you :)
ReplyDeleteThanks. I'm so glad you enjoyed it. Hopefully tonight or tomorrow I'll have the second part up with the paint treatments.
DeleteThe potting bench looks like quick build so I might try this. Thank you for the great tutorials Dale! The real fun will be decorating it :)
ReplyDeleteHugs,
Victoria
Victoria, I just quiver with excitement to see what you could do with this easy project. I'm sure it would be totally amazing. Lots of areas to stack things and you can really go crazy and customize it.
DeleteHello Dale,
ReplyDeleteWhat an amazing artist you are . i quickly went over your blog and I your work is wonderful. I really look forward to properly reading your post. your tutorials are great.
Big hug,
Giac
Giac, those words coming from you are truly heartwarming. I spent a long time on your blog last night and most of that time was spent picking my chin up off the floor. Your building and decorating is awe inspiring. I can't wait to see you do more.
ReplyDeleteThanks so much.
Awesome! Thank you so much for sharing I am excited to build my bench and make some plants for it. Your plant tutorial gave me the tricks I needed to get going.
ReplyDelete